Showing posts with label Garden Under $10. Show all posts

Wednesday, May 25, 2016

Fairy Garden Class - Garden Under $10, Part 4

For my fourth and final "Garden Under $10" class series this month, I wanted to round it out with an honest to goodness, from the ground up account of cost. In many of my other classes, I typically will use a container I already have or decorations I've used in past gardens and I realize that not all of you have these type of things on hand. The total cost of this garden is actually $11, but if you're going to be picky about going one dollar over... I don't know what to tell you. The point of this class is to prove that you can create something beautiful and living with very little money.


My shopping list consists of:

Two bags potting soil - $2
container - $2
Two bags of decorative sand - $2
Decorative rocks - $1
(the above were all purchased at the .99 cent store)
Two plants from Home Depot - $4
TOTAL = $11

The total could have been lower if the .99 cent store had plants, which they sometimes do, but this wasn't the case.


Because of the large size of the container and the limited amount of soil I had, I first placed a small pot upside down with a saucer on top to fill in some empty space. The saucer allowed a level base to place the soil on and get this project started.


Here I've planted the two chives purchased from Home Depot. Chives are hearty plants, give a unique look to your garden and if you don't mind the smell of onion, it's a good option (I love using them in my Ocean scenes). I've placed an old T-shirt over the potting mix which allows water to reach the soil yet keeps the decorative sand from sinking (saving money because you don't have to keep replacing it).


I chose fine blue sand to represent water and a tan sand to represent, well, sand to create a shoreline scene. I placed the rocks in clumps around the plants and the large rock in the middle was from my yard. A few simple finger strokes make the illusion of motion in the "water."


The large pods I added were plucked from the ground near my place of business and add the illusion of sea creatures.


 Finally, I had some very small shells from a previous project that I spread throughout the scene to give it a pop of color. Colorful pebbles can be found almost anywhere if you take a good look. And you could even save yourself that $1 on small rocks if you took a morning to go for a hike and collect some out in the wild. Wild rocks are free and that will be one more thing to mention when someone comments on how nice your garden looks.


PLEASE COME VISIT MY FAIRY PAGE

Thursday, May 19, 2016

Fairy Garden Class - Garden Under $10, Part 3


Continuing with our Garden Under $10 series, Week 3 begins as many spruce-up projects do. This container was a themed-garden I did back in February that lost it's flair. I removed all the decorations and pulled the scruffy-looking annual plants up front and kept the two perennials in the back. Annual flowers are very good at adding a pop of color to your garden but only last for a few months.

My shopping list for this garden was:

3 small annual flowers $1.25
1 English Moss $4.95
1 small Fern $2.95
TOTAL: $9.15


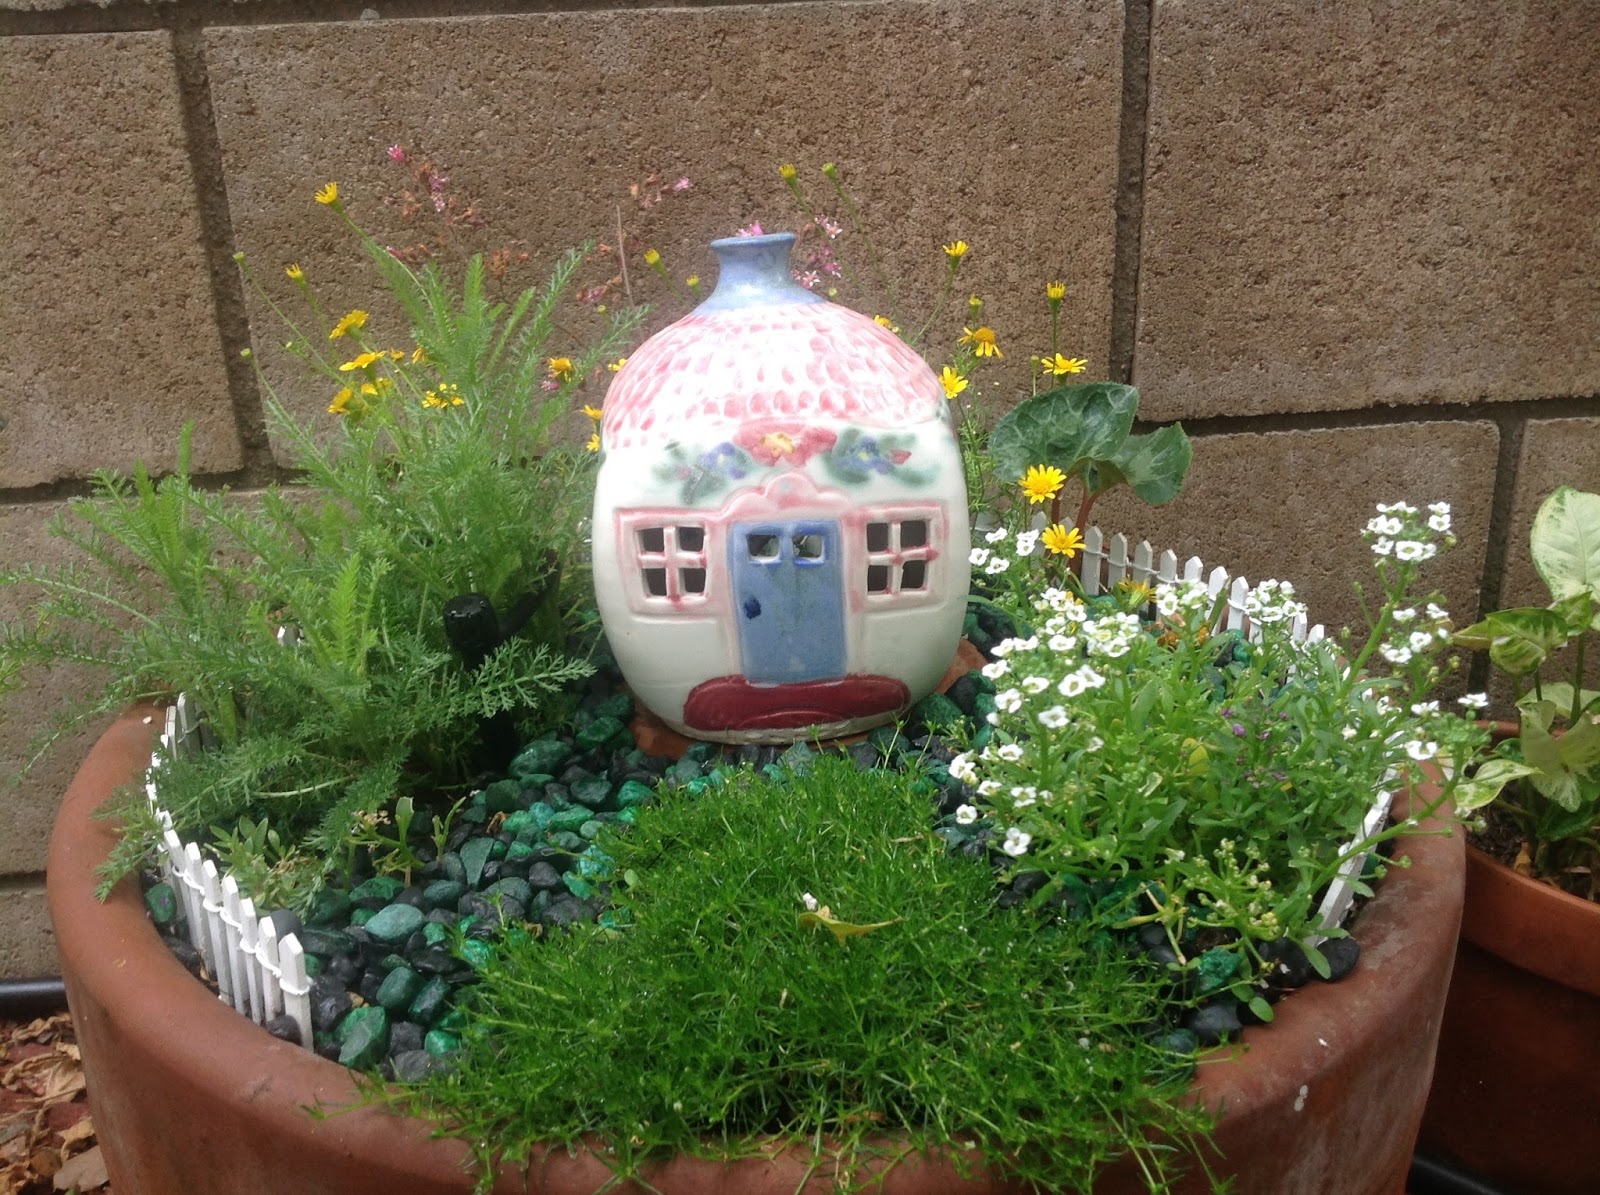
After all the dead and discolored plants were cleaned out, I put a fresh layer of soil and arranged my new plants around the existing perennials (the pink flowers and the large green leaf). I finished it off with the saucer base, fairy house, a white picket fence and pebble coverage. This Spring garden turned out so cute, I think I'll keep it this way for a while, and because there is no holiday theme attached to it, as long as these plants are alive, it can remain in my yard.

You may also notice a black tubular item between the fairy house and fern. I recently had sprinklers installed in my yard and decided to also create a drip system for all my fairy gardens. Sprinklers keep my yard green but may not be able to reach all of the containers I have. A drip system is a reliable way to keep your containers watered but initially they need to be monitored to make sure your garden isn't getting too much water. It's been about a month and I love them. My gardens are noticeably more vibrant already.


PLEASE COME VISIT MY FAIRY PAGE

Thursday, May 12, 2016

Fairy Garden Class - Garden Under $10, Part 2

For this week's "Garden Under $10" segment, I had some help from my youngest granddaughter, Lily. Among other projects we've been working on (which I will reveal later this year), we decided to choose this existing container garden as the base for a new spruce up project.


As you can see, it's pretty disheveled but the Dusty Miller and Viola have survived quite nicely. Accents include a white picket fence and a saucer (it's under all the rubble, I promise). All of this and the terra cotta pot are not factored into the final cost of this spruce up.


With all the junk out of the way, I put a small layer of new soil. When sprucing up any container garden, it isn't necessary to replace all the soil but it is a good idea to put a fresh top layer. This will allow fresh nutrients to permeate down through the existing soil. I began to place some new flowers from Home Depot that I got as part of a six pack.


My shopping list includes: 
Six pack of flowers - $2.50
English Moss  - $4.95
Three Garden Gnomes - $1.00
Mushroom House - $1.00

The gnomes and mushroom house were from the Dollar Tree and the flowers and moss were from Home Depot. The ground cover (green pebbles) was gifted to me and can be found at any pet store because they're aquarium pebbles. If you know of any friends who are getting rid of an aquarium, tell them to re-home the pebbles to you!

Once all the flowers and moss were planted, the saucer was placed and then the house on top of that. The pebbles were spread out and then the gnomes were placed. Fairy gardens are a great, low-cost way to spend time with children. It allows them to be creative and get involved with hands-on projects while at the same time teaching them a little bit about the living world around us.


PLEASE COME VISIT MY FAIRY PAGE

Thursday, May 5, 2016

Fairy Garden Class - Garden Under $10, Part 1

This month I'll be doing something a little different with the fairy garden class. Not only is the theme "Garden Under $10" (which is a loose definition because they're made with items I already have from previous fairy gardens that simply need a spruce up), but I'm also going to spread them out to four different posts so I can focus on one garden each week. My granddaughter thinks this is just a ploy to allow me to post more pictures of each fairy garden. I neither confirm or deny this.


This is what I started with; a container garden that I used as a Winter scene.  I redo most of my fairy gardens once or twice a year to try and stay in season and, if the scene calls for it, to replace dead plants or ones that have become "too big for their britches." Since it's not Winter anymore and the spider plants are getting too big to be managed, I am going to relocate them and remove the white "snow" pebbles to start.


I took out the mushroom house as well and put an overturned saucer that will offer a flat, raised platform.


I nestled in a cluster of white and lavender alyssum in place of the spider plant here to add some more color that the Winter scene was lacking.


Irish Moss is a much better option for ground coverage than "snow" pebbles for a lively Spring or Summer scene.


The Dollar Tree is a great store and if there isn't one in your area, try thrift stores. I found these three fairies for a total of $1 and the house was $1 (the gate was something I got at a yard sale years ago which I ended up using behind the house to prop up the plant behind it). The Irish moss was $4.95 and the alyssum was .80, bringing the total spruce up cost to $7.75.


I borrowed pebbles and small rocks from other fairy gardens around my yard to fill in the space the moss does not cover and I think it turned out very cute. It only takes a few dollars to liven up an out-of-season fairy garden.


PLEASE COME VISIT MY FAIRY PAGE