Monday, July 25, 2016

An Enchantier Anniversary

Last year around this time we did a fairy garden recap and goal outline in celebration of our first anniversary. Now that July is coming to a close, it's time again to reflect on the past year and celebrate the blog's second anniversary. Wikipedia suggests the second anniversary gift, in terms of flowers, is Lily of the Valley. Although I was unable to grow this plant, I would like to introduce you to a new fairy who's been seen around my garden the last few months. This is Lily (how apropos, right?).


I attribute my great health to the five years of gardening under my belt and we are that much closer to the same amount of years for the blog which is very exciting. This time last year I had 316 followers which has now increased to 515; a growth just shy of 200 followers!

My Google+ views last year were 136,380. Unfortunately I have discovered I can no longer access that information (at least in the way I used to) but I know the last time I was able to check, the number was upwards of 250,000 which is an increase of over 110,000! I used to find joy in checking the number steadily rise, so if any of you know of a way I can access that information, I would love to update this post (and regain my daily habit).
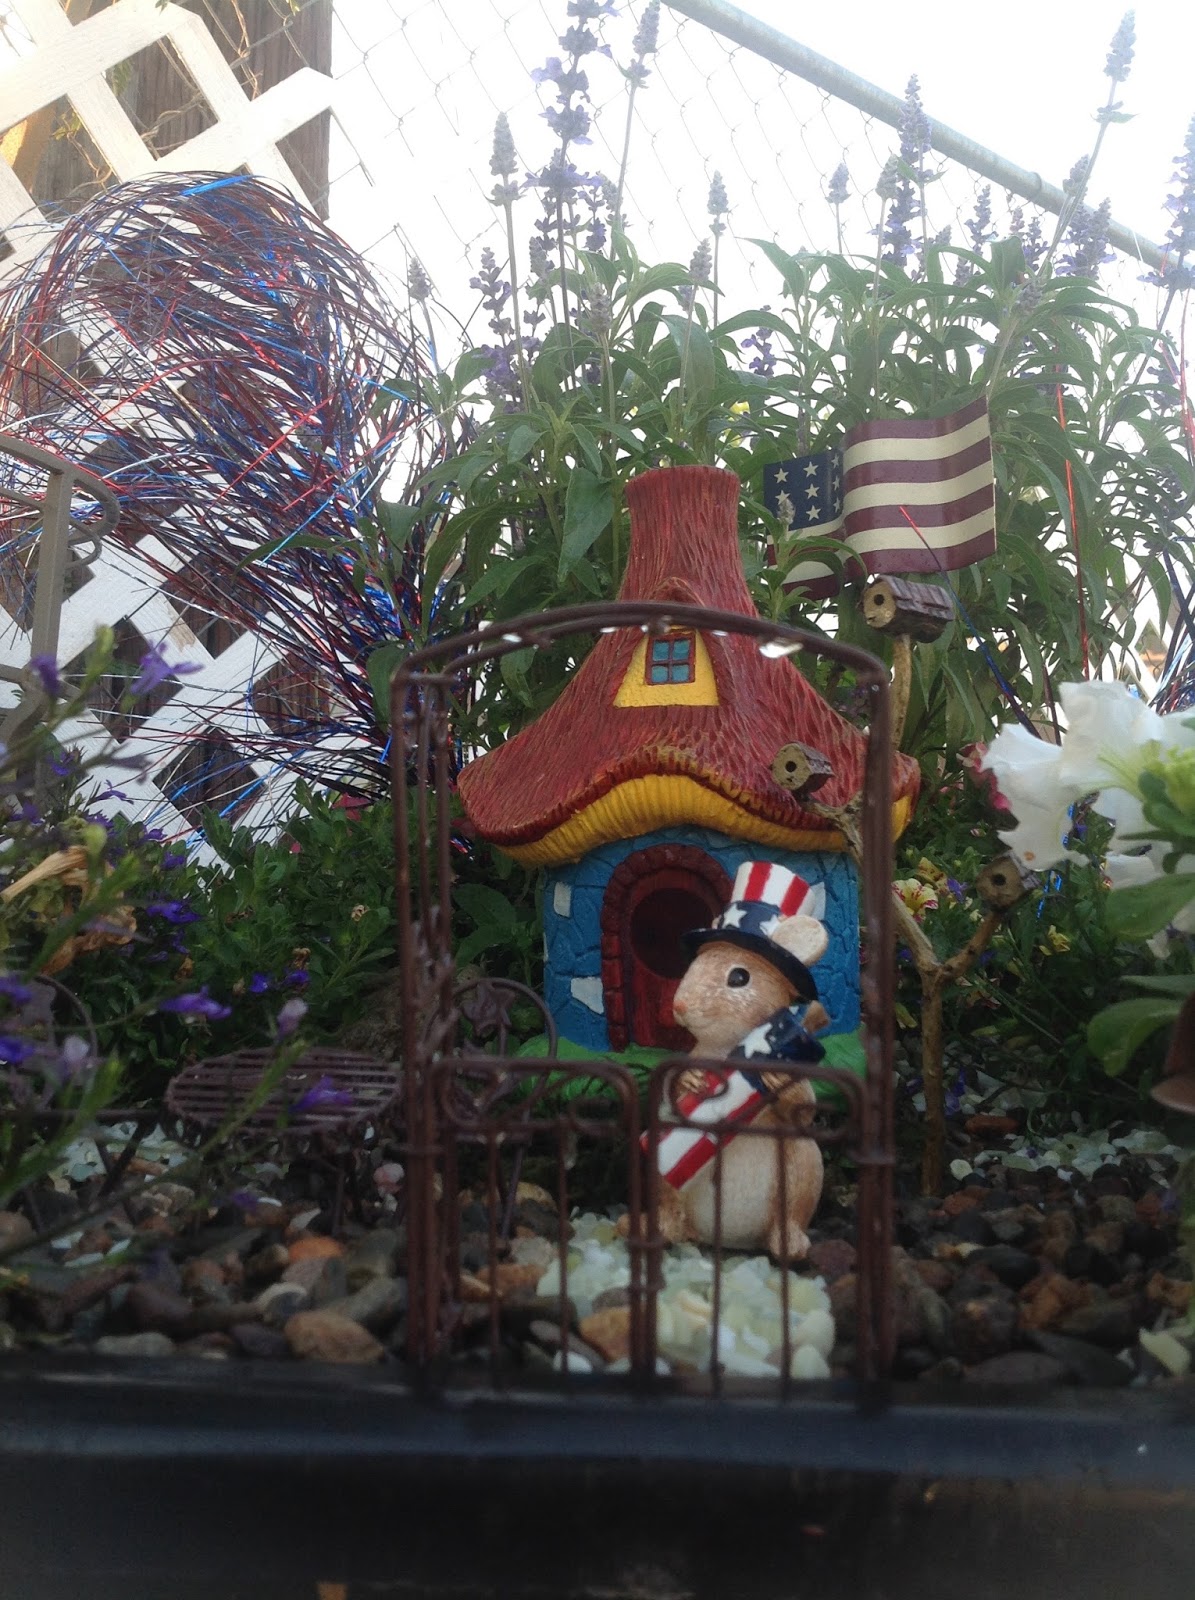
 One year ago I was so proud of my 11 videos on YouTube now at whopping 47 videos which have expanded to slideshows and audio commentary. I have 19 YouTube subscribers and 1,147 views. The number of fairies in my garden have also grown but we have yet to take a census to document an actual number. 

So, in the realm of goals achieved, my yard has gained the wonderful addition of a sprinkler system and I have added repainting to my list of skills. We set out to bring my worldly travels into my garden but have yet to produce results on that, however, let it be known that I do have many items I need to get them finished, including *spoiler alert* a pineapple plant!

I feel like we've achieved a lot and am so happy to have all you Fairy Folks with me on this journey. For the third year of this venture, I feel my goals might be getting too big, too fast, but I'm not afraid to try and impress myself and the rest of you! First priority is to have at least one fairy vacation garden done before the end of the year which should give me plenty of time (and not have to disappoint anyone in next year's recap). Second priority is a special event that was announced in March; the Gnome wedding. Planning has been in progress and in the next few months we will fill you in on that. As of now, we are aiming for a November wedding.

There are also some special treats planned, but we'll just make them a surprise. Thank you all so much for your continued support. Please keep commenting and sending me photos of your own fairy garden so that I can feature them in my blog.

PLEASE COME VISIT MY FAIRY PAGE
grandmasefg@gmail.com

Tuesday, July 12, 2016

Fairy Garden Class - Wheelbarrow Garden

Wheelbarrows are a necessary tool for gardeners. I bought one quite a few years ago when I began gardening so it had become a bit weathered and run down, causing me to buy a new one recently. Instead of throwing out the old one, I decided to turn it into a fairy garden. Home Depot is where I bought this one for $20 so they're not too expensive and because it's plastic, my husband was able to easily drill holes in the bottom for drainage. As you know, drainage is very important. Also, while I was at Home Depot I noticed they have different colored wheelbarrows now to help bring color to your yard.


Of course you want to fill your wheelbarrow with rocks, wood chips (this is basically for filler to cut down on the amount of potting mix needed) and potting mix. The wood chips will decompose causing the soil level to lower over the season, but I will add more potting mix at that point (since most of these plants are seasonal and I'll be redoing this garden).


I planted a few different plants here and kept them on the outskirts of the wheelbarrow, allowing a lot of room in the middle for fairy related decor. The tallest plant is placed in the rear which will accent the fairy house once it's placed.


Once the plants are all in place, I decided to put a few different rock sizes and colors.


I placed this house in the middle of the scene on top of a saucer (as we know, they provide a level foundation) and a cluster of moss. I also made a rock path leading to it. 


Fairies come as soon as a garden is finished.  Ivy and Simone enjoy the new scene.


Julip plucks at a rose and enjoys the afternoon.


PLEASE COME VISIT MY FAIRY PAGE
grandmasefg@gmail.com

Wednesday, June 29, 2016

Explosive Celebration

Reginald was spotted leaving his house with an armful of fireworks. It looks like the July 4th celebration is kicking off early this year!

He shows off some decorations he helped put up around the community. 

Some fairies gather and chat it up, waiting for the BBQ to begin. From left to right is Simone, Ivy, Julip and Bridget.

Tink has been invited to spend time with some new faces. To the left is Dreagan who is a magician. Seated on the ground is Caspian who is telling a story to an enamored Tink. Behind them is Twyla and she is the sister of both Caspian and Dreagan.

Dreagan holds a magical wand and boasts that he is the most fashionable of his siblings (although it may just be to annoy Twyla who has always taken pride in being a fashionista).

Tink seems mesmerized by Caspian's chin dimple as he rambles on and on, but she doesn't mind. Also, fireworks are very difficult to photograph but here's a video!


PLEASE COME VISIT MY FAIRY PAGE

Tuesday, June 21, 2016

Primp and Proper Repaint


The picture is a little blurry but it shows a lawn ornament nestled amongst the greenery that I've had for a few years. It is actually a solar light that has been weathered and the bottom right of the solar panel has been chipped. She was very beautiful but when the light stopped working, I was so sad yet I couldn't bring myself to toss her. Thankfully I have gained some artsy skills in the last few years and decided it was her time for a blog spotlight. In the video below, you can see the transition from beginning to end. 


Now that's much better! She pops with those bright colors and even more colors will be growing within her. There is still more work to be done, but I just had to share how wonderful it turned out. There will be an update within the next few months.

Also, I've done some paint projects in the past and have realized that I have neglected to mention that I get all my paint supplies from Dunn-Edwards Paints in Riverside. For this particular project I used Rust-oleum Painter's Touch Paint and Primer Ultra Cover which boasts fast drying, use for indoor or outdoor and can be used on wood, metal, plastic and more which is wonderful when you have multiple types of projects to work on.


PLEASE COME VISIT MY FAIRY PAGE

Tuesday, June 14, 2016

Such Growth - Budget Garden Update

It's surprising how quickly some plants grow and the change in appearance it makes in a container garden. Here is one of the gardens I made last month; the last in our series of budget container gardens where I used only items from the 99 cent store. The photo on the right is from the class. These chive plants have had less than a month to grow, and grow they did, as you can see in the photo below.


I only watered this container once a week and the blue sand has become prominent, the "beach" becoming engulfed in high tide. The detail in the blue sand in this picture is actually from the watering process, creating a tide pool visual effect, while in the original picture I'd just used my finger to create swirls in the sand. If you have a container garden and would prefer a little less change (in regards to the sand shifting), I would suggest direct watering (here I've used a hose to water when I could have used a watering can or even a large eye dropper) or small decorative rocks or buffed seashell pieces (can be found at a hobby store) instead of sand.


PLEASE COME VISIT MY FAIRY PAGE

Friday, June 3, 2016

Memorial Day - Honoring My Father

Over the Memorial Day weekend, I decided to put together a memorial garden for my father who was a medic is WWII. If he hadn't returned home from the war, I wouldn't be here today so honoring his service to our country, along with many others, is something I remember each Memorial Day.

I went to Home Depot in search of flowers that represented the holiday in red, white and blue and came out with a few different colored petunias. On my way back to my car, a little fellow caught my eye. I typically flick off pests at the sight of them, but something about this guy made me hold back. I decided to bring him home with me and name him Charlie.

Here is Charlie, enjoying a walk to my car.

Charlie takes a nap while I work on my Memorial garden.


This garden has pops of three patriotic colors, some patriotic decorations from Hobby Lobby as well as an army jeep from the Dollar Tree. In the background is a framed photo of my mother and my father in his uniform.

If you look closely, Charlie is on top of the plant in the middle, saluting an American hero.


PLEASE COME VISIT MY FAIRY PAGE

Fairy Garden Class - Festival Workshop

Welcome to a new month on my blog! Last month there were a total of four fairy garden tutorials (that I hope you enjoyed) which was a different pace. This month we'll also do something a little different by featuring the Fairy Garden Workshop in this section. Now, this is a class I did not organize but I did attend. I made a post about the Fairy Garden festival already, but I felt that the class had so many wonderful results, it needed it's own post.

A group of mostly women and children gathered on the back patio of Plymouth Village's beautiful front house to learn the in's and out's of Fairy Gardening. Tips were shared and suggestions were offered over the hour-long event. While participants were asked to bring their own container, the class provided each "artist" with bubble wrap (to cut down on soil use), potting mix, a few plant options, some small rocks and smaller, decorative pebbles. There were also a few other, more exotic plants and decorations for sale to enhance the gardens.

Here are a few of the plants that were given to each class participant.
Pictured here are a few handmade mushrooms and other plants that were set aside to be sold to class participants. The workshop organizers wanted to make sure there were many ways to make each fairy garden unique.

Below are the fairy gardens myself and my granddaughter created. I purchased the matching purple containers at Lowe's which have water reservoirs at the bottom and the houses were purchased at a booth at the Fairy Garden Festival. We each used the same plants and I bought some mushrooms to emphasize a path in my garden.

In my garden I used white pebbles lined with colorful mushrooms to emphasize a path.

My granddaughter chose the darker decorative pebbles for ground cover and a little 'stream' of blue pebbles to create the illusion of a water feature.

I took many pictures, trying to capture everyone's creation. If I did not include you, please feel free to email me with a photo of your fairy garden. I would also love to see where these Fairy Gardens made their forever home, so if you have pictures of your creation in your yard (or wherever you put it), please send them to me. Below are a few creations I felt were extra special and there is also a slideshow of all the photos I took for the class.


This work of art is the perfect example of "use what you have." Something as simple as an old wicker basket can create a beautiful fairy tale scene, including a sea serpent and and castle with soldiers. Even more shocking is the "driftwood" that blends in so well with the scene. When I was talking with the artist, she informed me that the wood is actually from a Rosemary plant in her own garden. 


This simple creation uses the same plants and pebbles as everyone else, yet due to decoration and placement, creates a very unique story. I can imagine that this fairy and bear have been friends for a very long time and they are taking a typical walk through the forest to get to a stream. The forest is created by separating taller plants to give the illusion of trees on a path.


Here is another example of a creative container. Just about anything can be a vessel for a garden creation!


PLEASE COME VISIT MY FAIRY PAGE