Tuesday, September 6, 2016

Fairy Garden Class - DIY Miniature Chair


I hope you all had a safe and enjoyable Labor Day weekend. My weekend was spent with my youngest granddaughter creating inexpensive decor for my fairy garden which I thought would make a great class for this month. Here is a tutorial on how to create some DIY chairs and tents.

Supplies were mostly things already in my yard or leftover from other projects.


SUPPLIES

Hot glue gun
clippers
fake moss
twigs
fake flowers (optional)

In the picture to the right, you'll also see a white miniature chair. The purpose of this chair was to have a size guide. If you don't have something like this, I would suggest you bring out a fairy to make sure you are making a chair that can fit the leg length and body width.

Time to forage! Look around your yard for some small, straight twigs (hopefully you can find a few fresh ones so they are not brittle). Feel free to also collect some pieces that branch off (like a Y shape) to add some character and dimension.


The hot glue gun will take a few minutes to warm up, so feel free to plug it in at this point, making sure to lay down a paper plate or something protective for it to rest on. Next, take your clippers and cut pieces:


1. The area of your fairies butt and two support pieces to go the width of these pieces.

2. The length of the fairies legs. You'll need 4 for the chair legs (making sure the cuts are straight)
3. The height of the chair back, including Y-shaped twigs. The height is up to you but I suggest using thinner twigs so the chair won't tip over, but also tall enough so the fairy won't fall backward. I did not make arms for my chair because, in my experience, fairy wings do not allow a fairy to be sat in a chair with arms.

Please be sure not to mix up what pieces are for what part of the chair, especially the legs, unless you're looking forward to a wobbly chair!


Line up the pieces for your seat and glue two support pieces across. If you have a young child involved in this process, please remind them that the tip of the glue gun and the glue itself is hot. I'm not sure if it's possible to do a hot glue gun project without burning a digit. While this is drying, start putting the back of the chair together. I suggest gluing the Y-shaped pieces at the bend instead of at the base - I attempted to glue at the base and it didn't want to stay put. You can also add some fake flowers, moss, leaves or anything else decorative.


Bring out the leg pieces and glue them one at a time to the seat (the side with the support pieces), holding them in place a few minutes until dry. Once all the pieces are dry, glue the two together to form the chair, and once that is dry, you can glue moss to the seat. Ta-dah, you're done!


PLEASE COME VISIT MY FAIRY PAGE
www.facebook.com/GrandmasEFG
grandmasefg@gmail.com

Tuesday, August 30, 2016

Hawaii Inspires New Addition to Fairy Shores


I've finally done it! The plan and promise I made over a year ago to incorporate my worldly travel into my Fairy Garden has finally come to fruition. This is the first installation and represents my time in the Hawaiian Islands. I particularly enjoyed my time in O'ahu, specifically at the Polynesian Cultural Center. If I ever get a chance to return, I'd love to experience their evening luau.

The container was only $5 due to some damage. Damaged containers are a great way to save money on your fairy garden. In the picture above, you can barely notice the damage thanks to plant placement. I made sure to use tropical plants and took a lot of time finding a pineapple plant. Of course, drainage was put in before I began to fill it, as shown in the picture on the right.

This seahorse was a yard decoration my friend had. When I spotted it, I made sure to let her know that if she ever decided to get rid of it, I'd take it off her hands. A year later she remembered my infatuation with it and called me to say she was ready to part with it. 


Here is the illusive pineapple plant. I couldn't begin my Hawaii garden without it and I finally found it after a year of searching! I have a friend who has been trying to grow one and is having trouble so I knew I needed to buy one with fruit already on it. These plants get pretty big and the leaves are pretty sharp so you should give it 4 to 6 feet to grow and not crowd other plants.


PLEASE COME VISIT MY FAIRY PAGE
www.facebook.com/GrandmasEFG
grandmasefg@gmail.com

Tuesday, August 23, 2016

How to Get Rid of an Eyesore


Take a look at this eyesore. It's not pretty but I'm sure some of you out there also have the same problem. A fence can be the line between your backyard and your neighbor's, preventing pets and items from crossing the divide, but it can't prevent you from seeing what's on the other side. For years I've been wanting to hide what was on the other side of this fence and with the help of my family, was able to put one more layer of visual barrier this past June. As a birthday gift, one son helped me to purchase the lattice fence (a portion is shown here) which was the beginning of this new project.


Both my sons and a few grandsons came over one weekend to help make this a reality. I'm so thankful to have these men in my life. What would have taken me months to complete was finished in less than one afternoon! The view is so much better, blocking out what I don't want to see on the other side of the fence. I also have plans to put in some plants along the fence line that will be 4-6ft tall (to hide that backyard even more).


Completed in the same afternoon, all the greenery and roots were evacuated with a rototiller, leaving a clean slate to work with. The cinderblocks line the area and are filled with potting soil so I can have even distribution of flowers.


I've laid down some cardboard at the suggestion of a few internet sources to cut down on the weeding I'll need to do in the future. This area will allow me to expand Fairy Shores and reintroduce food into my yard. I have yielded fruits and vegetables in my yard before, but it was before the time of this blog. This will be my second time working on a food garden and I am excited to use my experience and expand on it to share with My Fairy Folks.


Soil has been laid on top of the cardboard, wood chips will be laid down next and while I have since made progress, I believe the non-food portion of this garden will be complete around November. I plan to wait until Spring to begin the food garden.

Next month I'll share an update on this expanded Fairy Shores area.


 PLEASE COME VISIT MY FAIRY PAGE
www.facebook.com/GrandmasEFG
grandmasefg@gmail.com

Tuesday, August 16, 2016

The Summer Hatchlings

Back in March I discovered some eggs in my garden. I would eye them daily when I was in the garden but once Summer came, I began to forget they were there, but the fairies didn't. The fairy community had come together to keep a watch on them because they knew that these were special eggs. Early on, Brittania (Keeper of the Dragons) took a keen interest in these eggs unbeknownst to me. I did feel like the fairies were acting a little secretive, giggling when I would check on the eggs or ask about their progress. I don't know much about hatching eggs so I assumed they maybe were just entertained by my lack of knowledge. But last month, July 11 to be exact, I discovered that the fairies had been keeping a secret from me. I would like to share this exciting video with you.


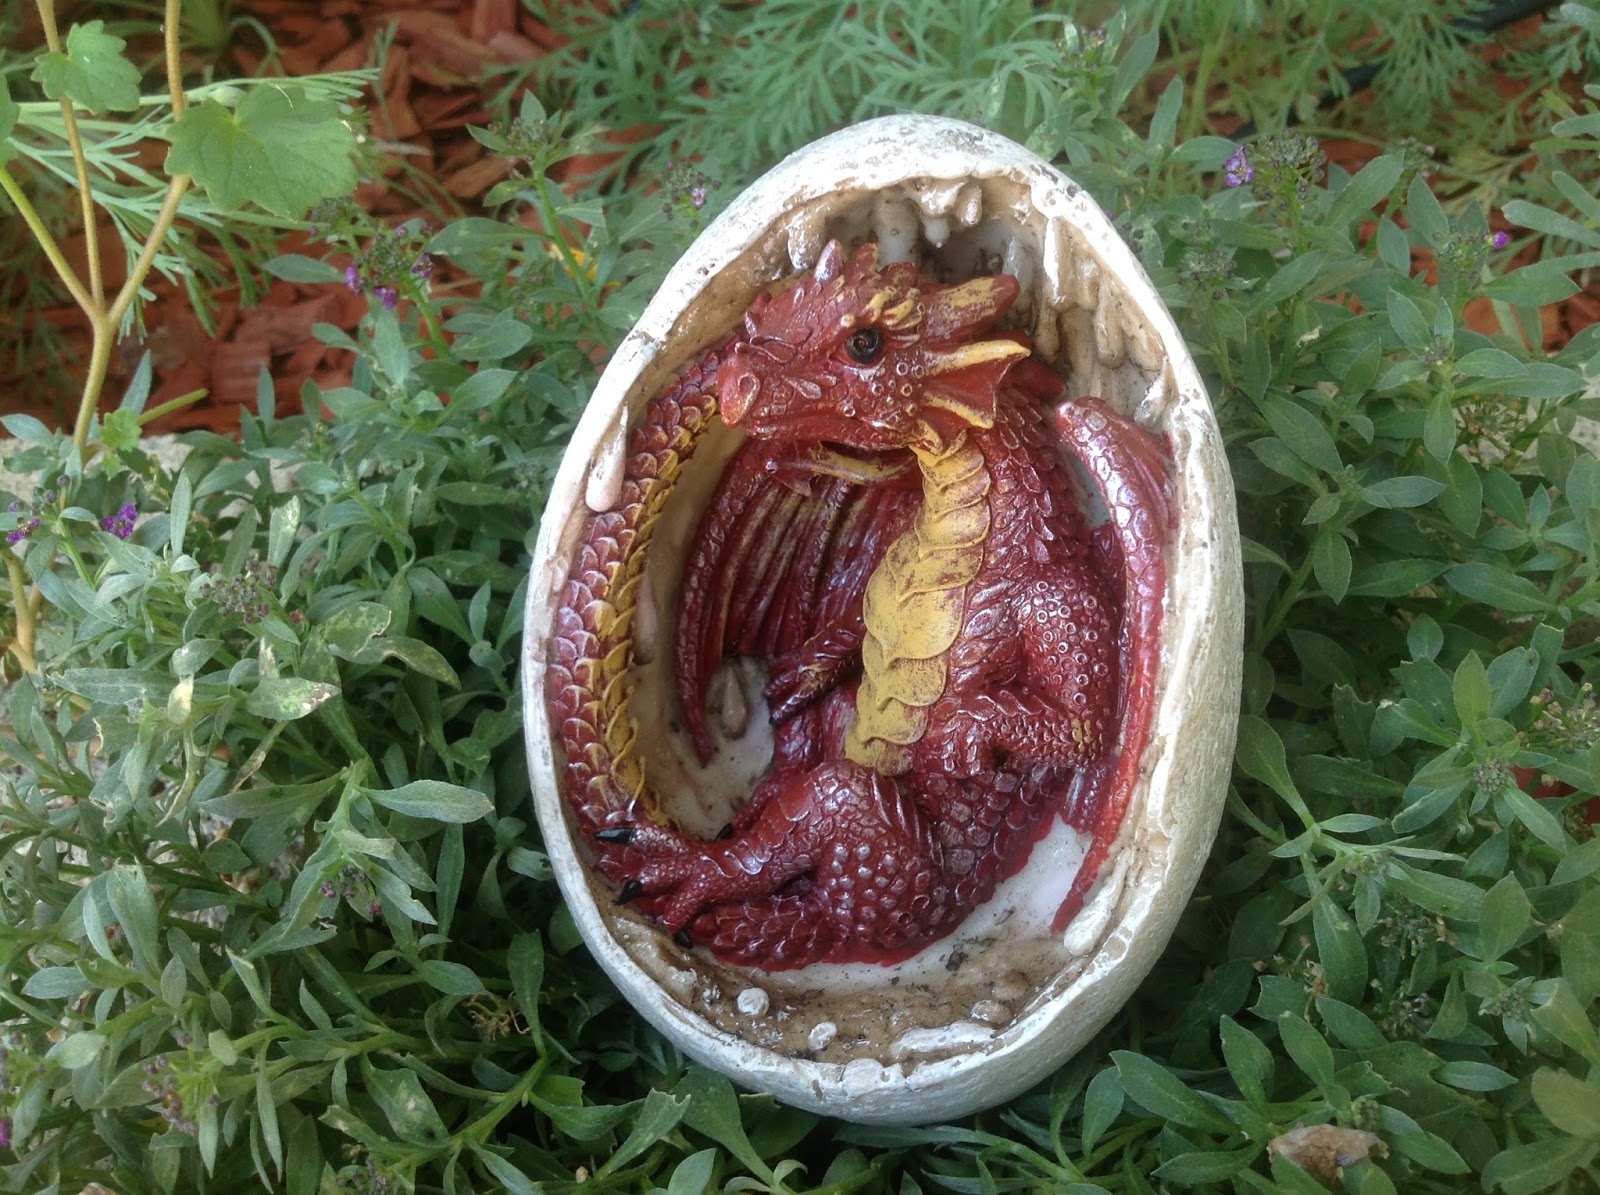
Here are the newborns! The fairies had all gathered round and were very quiet, at the request of Brittania, as these precious babies took their first breath and blinked their eyes in the morning sun. A little later I was able to take individual pictures. I was surprised at how docile they were. I'm so excited for the future of these scaled babies!

This "Black Beauty" is a sweet boy with puppy dog eyes.
This red dragon is the only female of the bunch and is already so photogenic, I can imagine great photo opportunities in the future.
This little guy is noticeably irritated with the amount of pictures I've taken and at the suggestion of Brittania, this was the end of my photo shoot.


As mentioned in the video, these magical beasts haven't been named yet. The fairies will be having a vote on names soon and I suggested we allow My Fairy Folks to put a few names in the hat. So, please leave your name suggestions for the dragons in the comments below.


 PLEASE COME VISIT MY FAIRY PAGE
www.facebook.com/GrandmasEFG
grandmasefg@gmail.com

Tuesday, August 9, 2016

Fairy Garden Class - Large Box Container


Perennial Pointe had a new addition recently with this floppy cottage. This is the lovely cottage that I purchased at the Fairy Garden Festival back in May that was hand crafted by Grace Bagwell from Diamond Bar. I finally decided where I wanted this lovely artwork to go and documented my journey to this finished product as a walk through for this month's Fairy Garden Class.


I bought this wooden box at Home Depot a few years ago, probably around $30, which contained an array of succulents and other plants for Spring. Since then the succulents have been moved (and the other plants had died long before that) and left me with an empty box. But as you all should know by now, anything unused can be reused for a container garden.


For wooden containers, I would suggest you line it with plastic and poke holes in it before filling with drainage material (rocks, wood chips, etc.) to keep the wood from rotting and allow a long-lasting container. This wooden box came with open slats on the bottom that allows for great drainage. Rocks and soil in place, I filled the bed with an array of colorful flowers.


I put down an old T-shirt in the exposed soil where I wanted to lay down some decorative pebbles. 


There are multiple reasons I use this material: It holds moisture, the pebbles remain separate from the soil which keep them clean, and it makes removal of pebbles much easier by simply lifting up the T-shirt instead of picking them out a handful at a time.


Stacking a few different sized terra cotta saucers upside down in a line creates a cute path and base for the fairy cottage.


How do you feel about this container garden? Do you have a similar one? Please feel free to share your container gardens with me by sending me some photos and descriptions to my email - they may be featured on my blog! If you enjoy these online fairy garden classes and would like to be added to the emailing list for updates on our in-person fairy garden classes (in the Inland Empire area of Southern California), please send a request to grandmasefg@gmail.com.

If you'd like to contact Grace Bagwell (the artist who created the ceramic cottage), her email is gbagwell318@gmail.com and her phone number is 909-576-3894.


PLEASE COME VISIT MY FAIRY PAGE

Monday, July 25, 2016

An Enchantier Anniversary

Last year around this time we did a fairy garden recap and goal outline in celebration of our first anniversary. Now that July is coming to a close, it's time again to reflect on the past year and celebrate the blog's second anniversary. Wikipedia suggests the second anniversary gift, in terms of flowers, is Lily of the Valley. Although I was unable to grow this plant, I would like to introduce you to a new fairy who's been seen around my garden the last few months. This is Lily (how apropos, right?).


I attribute my great health to the five years of gardening under my belt and we are that much closer to the same amount of years for the blog which is very exciting. This time last year I had 316 followers which has now increased to 515; a growth just shy of 200 followers!

My Google+ views last year were 136,380. Unfortunately I have discovered I can no longer access that information (at least in the way I used to) but I know the last time I was able to check, the number was upwards of 250,000 which is an increase of over 110,000! I used to find joy in checking the number steadily rise, so if any of you know of a way I can access that information, I would love to update this post (and regain my daily habit).
 One year ago I was so proud of my 11 videos on YouTube now at whopping 47 videos which have expanded to slideshows and audio commentary. I have 19 YouTube subscribers and 1,147 views. The number of fairies in my garden have also grown but we have yet to take a census to document an actual number. 

So, in the realm of goals achieved, my yard has gained the wonderful addition of a sprinkler system and I have added repainting to my list of skills. We set out to bring my worldly travels into my garden but have yet to produce results on that, however, let it be known that I do have many items I need to get them finished, including *spoiler alert* a pineapple plant!

I feel like we've achieved a lot and am so happy to have all you Fairy Folks with me on this journey. For the third year of this venture, I feel my goals might be getting too big, too fast, but I'm not afraid to try and impress myself and the rest of you! First priority is to have at least one fairy vacation garden done before the end of the year which should give me plenty of time (and not have to disappoint anyone in next year's recap). Second priority is a special event that was announced in March; the Gnome wedding. Planning has been in progress and in the next few months we will fill you in on that. As of now, we are aiming for a November wedding.

There are also some special treats planned, but we'll just make them a surprise. Thank you all so much for your continued support. Please keep commenting and sending me photos of your own fairy garden so that I can feature them in my blog.

PLEASE COME VISIT MY FAIRY PAGE
grandmasefg@gmail.com

Tuesday, July 12, 2016

Fairy Garden Class - Wheelbarrow Garden

Wheelbarrows are a necessary tool for gardeners. I bought one quite a few years ago when I began gardening so it had become a bit weathered and run down, causing me to buy a new one recently. Instead of throwing out the old one, I decided to turn it into a fairy garden. Home Depot is where I bought this one for $20 so they're not too expensive and because it's plastic, my husband was able to easily drill holes in the bottom for drainage. As you know, drainage is very important. Also, while I was at Home Depot I noticed they have different colored wheelbarrows now to help bring color to your yard.


Of course you want to fill your wheelbarrow with rocks, wood chips (this is basically for filler to cut down on the amount of potting mix needed) and potting mix. The wood chips will decompose causing the soil level to lower over the season, but I will add more potting mix at that point (since most of these plants are seasonal and I'll be redoing this garden).


I planted a few different plants here and kept them on the outskirts of the wheelbarrow, allowing a lot of room in the middle for fairy related decor. The tallest plant is placed in the rear which will accent the fairy house once it's placed.


Once the plants are all in place, I decided to put a few different rock sizes and colors.


I placed this house in the middle of the scene on top of a saucer (as we know, they provide a level foundation) and a cluster of moss. I also made a rock path leading to it. 


Fairies come as soon as a garden is finished.  Ivy and Simone enjoy the new scene.


Julip plucks at a rose and enjoys the afternoon.


PLEASE COME VISIT MY FAIRY PAGE
grandmasefg@gmail.com